

Pipelines are a way of planning and organising your work – a visual todo list, ordered by what is due at the closest date. They are a great way to quickly see what you need to do in a glance.
With pipelines, you can see all your tasks ordered by the deadline with a quick glance. It’s easy and quick to set up pipelines, so make sure to keep reading!
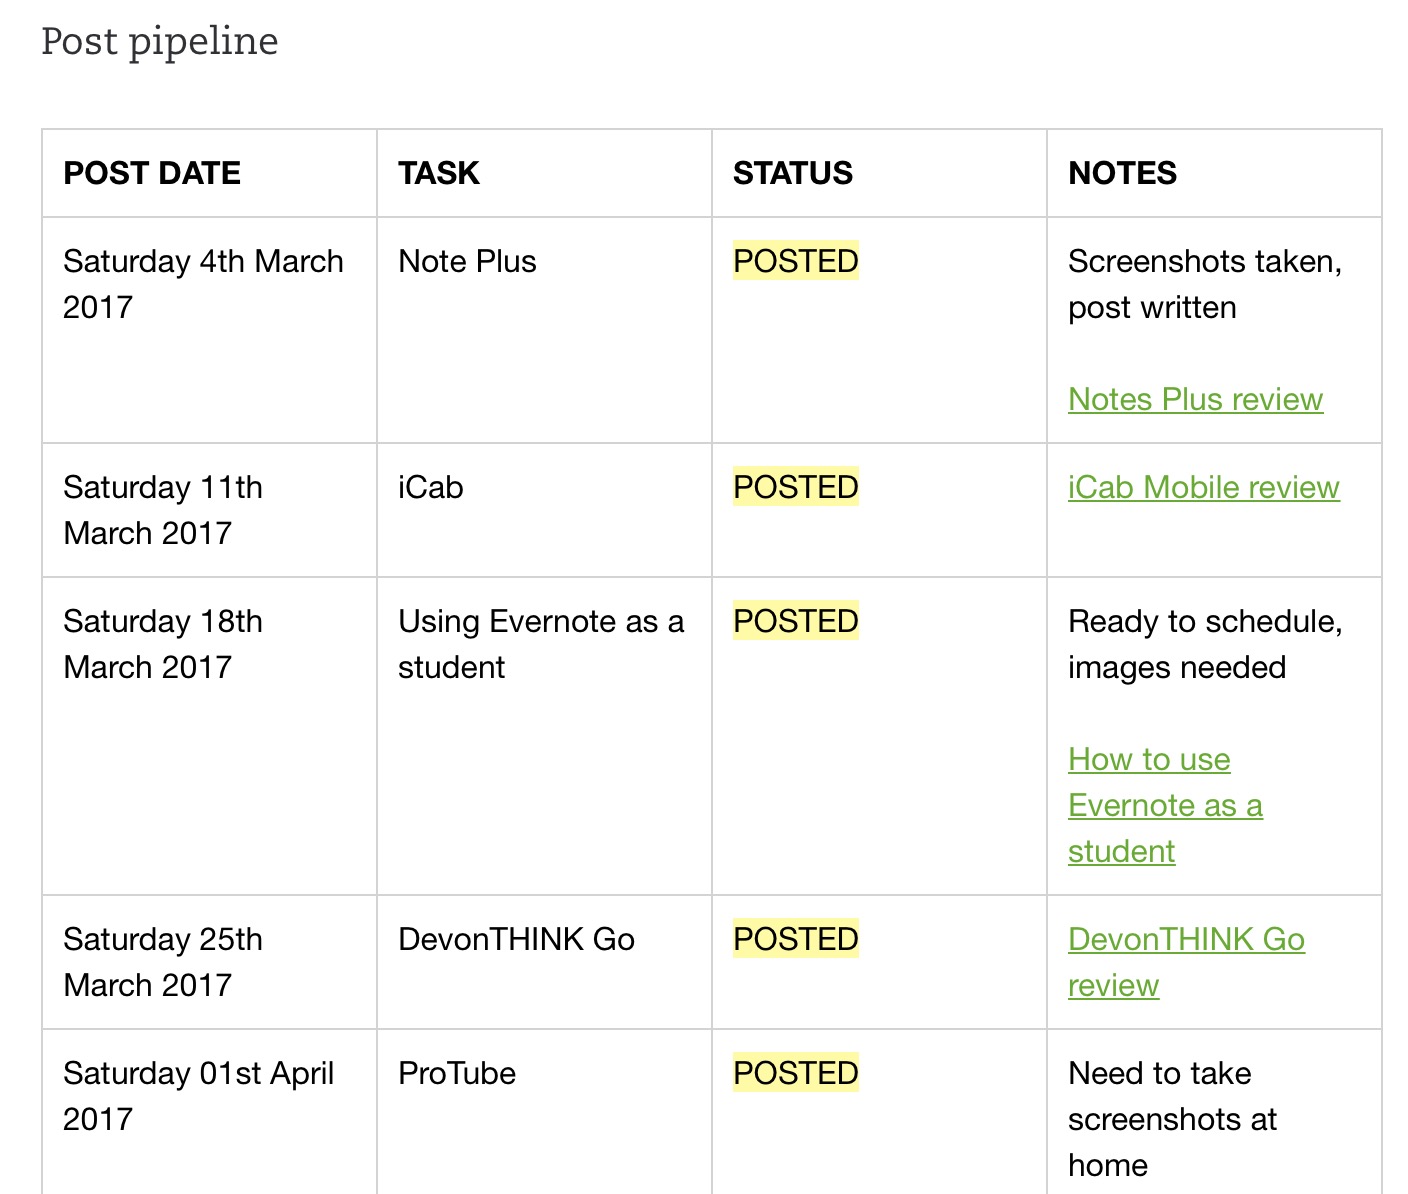 |
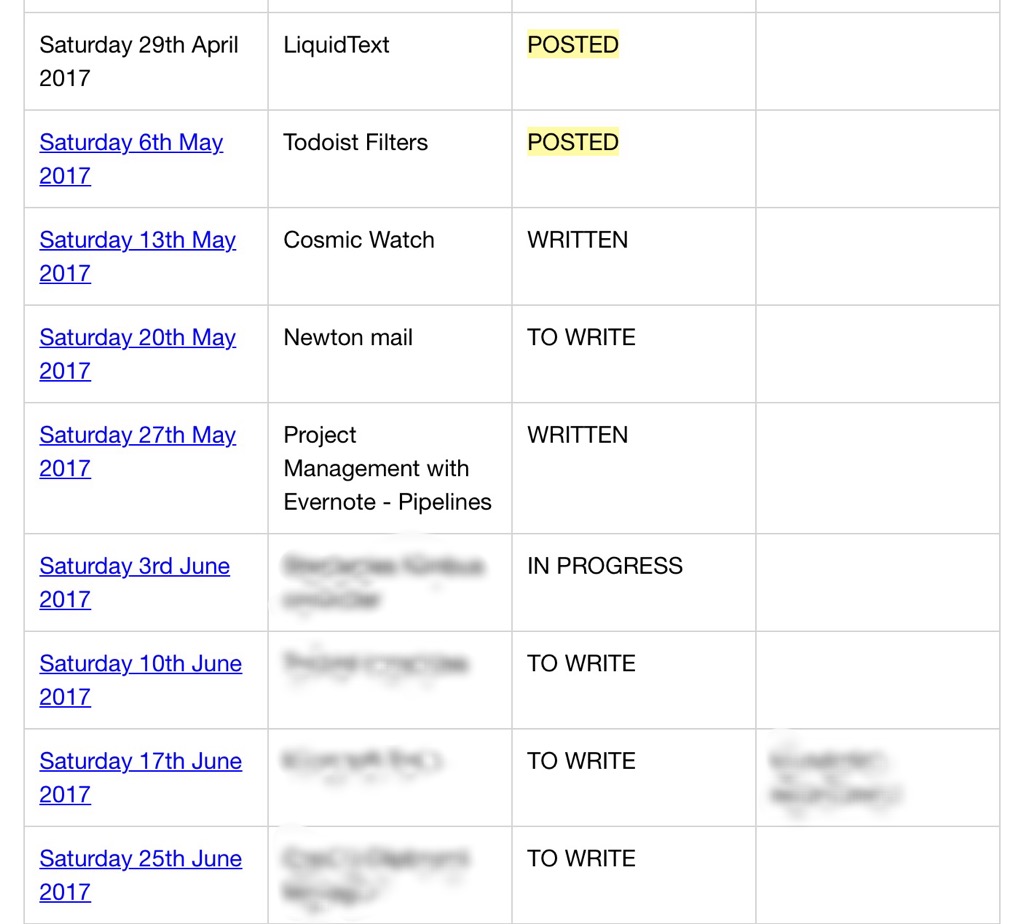
| My pipeline for The Nerdy Student |
Pipelines are essentially visual todo lists that are in tables. You have the task which is at the earliest due date at the top, and the task for the latest due date at the bottom. You can then work your way through them quickly and easily. Starting at the top of your pipeline, you simply have to work down the list to complete tasks – no hunting around your task manager to find what task is next.
I adopted this method as I found that whilst Todoist is a great task manager, the tasks were not automatically ordered by due date. I often struggled to find out which task to work on next, as it was just a big unordered list of tasks.
This problem was solved by using a pipeline. Pipelines can be set up digitally or on paper (although you probably should do so digitally – I’ll explain why later in the post). They can be used for anything, from school work to planning blog posts. The benefits of using a pipeline is that you can see visually what is due at the nearest date – for example, you can quickly glance at the pipeline, and see what piece of work is due next.
I set up my pipelines in four column tables. In the first column, I put the date – this lets me scan down the left of the column and see what dates the work is due. I then put a ‘Task’ column. Here, I write a quick description of the task I want to complete. I put a quick title, which can be glanced at. I then have the status column – here, I write the progress that the task is in. For example, when I was writing this post, I put ‘In progress’ in the status box. That lets me know that I am working on the post. When I have written a post, I write ‘Posted’, and I also highlight that to let myself know that no further action needs to be taken with that post. The final column is very helpful – its the notes column. In this, I can write notes about the task – for example links to websites, links to helpful notes in Evernote, and much more. If I need to do something for that post, I often write it there to remind myself when I look at the pipeline.
That’s it! The pipeline I just described will work for anything, from school work to work tasks. If you want to use it for school, just put the essay title in the Task column, and make sure to keep the table ordered by due date so you don’t get mixed up.
Whilst pipelines can be set up on paper, I would suggest setting them up digitally, with a tool such as Evernote. This is because it is so much easier to rearrange your tasks digitally, whilst on paper it’s very hard to order your tasks. For example, if you got set a history essay that was due six days in the future, and you wrote it at the top of the pipeline, and in the next lesson you get set a paper due two days in the future, you would have to write that paper above the work your got set previously. This is practically impossible to do with paper – it would require a lot of scribbling out or using Tipex. However, if you use a tool such as Evernote, Excel or whatever you prefer, you can simply insert a new column above, and type it in. That’s why I suggest you set it up digitally, by using a tool such as Evernote or Excel. It’s just a lot more flexible for this sort of thing, and lets you organise your tasks with a lot more ease.
That’s it! You can set up as many pipelines as you want – from work/schoolwork tasks to other activities you do. It’s easy to set up, and works well. With a scan down a list, you can get going with your tasks.
Thanks for reading!
Feel free to comment below!
